Django实现文件上传和下载功能
本文实例为大家分享了Django下完成文件上传和下载功能的具体代码,供大家参考,具体内容如下
一、文件上传
Views.py
def upload(request):
 if request.method == "POST": # 请求方法为POST时,进行处理
 myFile = request.FILES.get("myfile", None) # 获取上传的文件,如果没有文件,则默认为None
 if not myFile:
 return HttpResponse("no files for upload!")
 # destination=open(os.path.join('upload',myFile.name),'wb+')
 destination = open(
 os.path.join("你的文件存放地址", myFile.name),
 'wb+') # 打开特定的文件进行二进制的写操作
 for chunk in myFile.chunks(): # 分块写入文件
 destination.write(chunk)
 destination.close()
 return HttpResponse("upload over!")
 else:
 file_list = []
 files = os.listdir('D:\python\Salary management system\django\managementsystem\\file')
 for i in files:
 file_list.append(i)
 return render(request, 'upload.html', {'file_list': file_list})
urls.py
url(r'download/$',views.download),
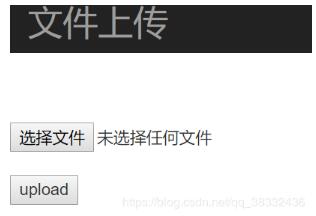
upload.html
<div class="container-fluid">
 <div class="row">
 <form enctype="multipart/form-data" action="/upload_file/" method="POST">
 <input type="file" name="myfile"/>
 <br/>
 <input type="submit" value="upload"/>
 </form>
 </div>
</div>
页面显示
二、文件下载
Views.py
from django.http import HttpResponse,StreamingHttpResponse
from django.conf import settings

def download(request):
 filename = request.GET.get('file')
 filepath = os.path.join(settings.MEDIA_ROOT, filename)
 fp = open(filepath, 'rb')
 response = StreamingHttpResponse(fp)
 # response = FileResponse(fp)
 response['Content-Type'] = 'application/octet-stream'
 response['Content-Disposition'] = 'attachment;filename="%s"' % filename
 return response
 fp.close()
HttpResponse会直接使用迭代器对象,将迭代器对象的内容存储城字符串,然后返回给客户端,同时释放内存。可以当文件变大看出这是一个非常耗费时间和内存的过程。
而StreamingHttpResponse是将文件内容进行流式传输,StreamingHttpResponse在官方文档的解释是:
The StreamingHttpResponse class is used to stream a response from Django to the browser. You might want to do this if generating the response takes too long or uses too much memory.
这是一种非常省时省内存的方法。但是因为StreamingHttpResponse的文件传输过程持续在整个response的过程中,所以这有可能会降低服务器的性能。
urls.py
url(r'^upload',views.upload),
以上就是本文的全部内容,希望对大家的学习有所帮助,也希望大家多多支持【听图阁-专注于Python设计】。