Python使用requests及BeautifulSoup构建爬虫实例代码
本文研究的主要是Python使用requests及BeautifulSoup构建一个网络爬虫,具体步骤如下。
功能说明
在Python下面可使用requests模块请求某个url获取响应的html文件,接着使用BeautifulSoup解析某个html。
案例
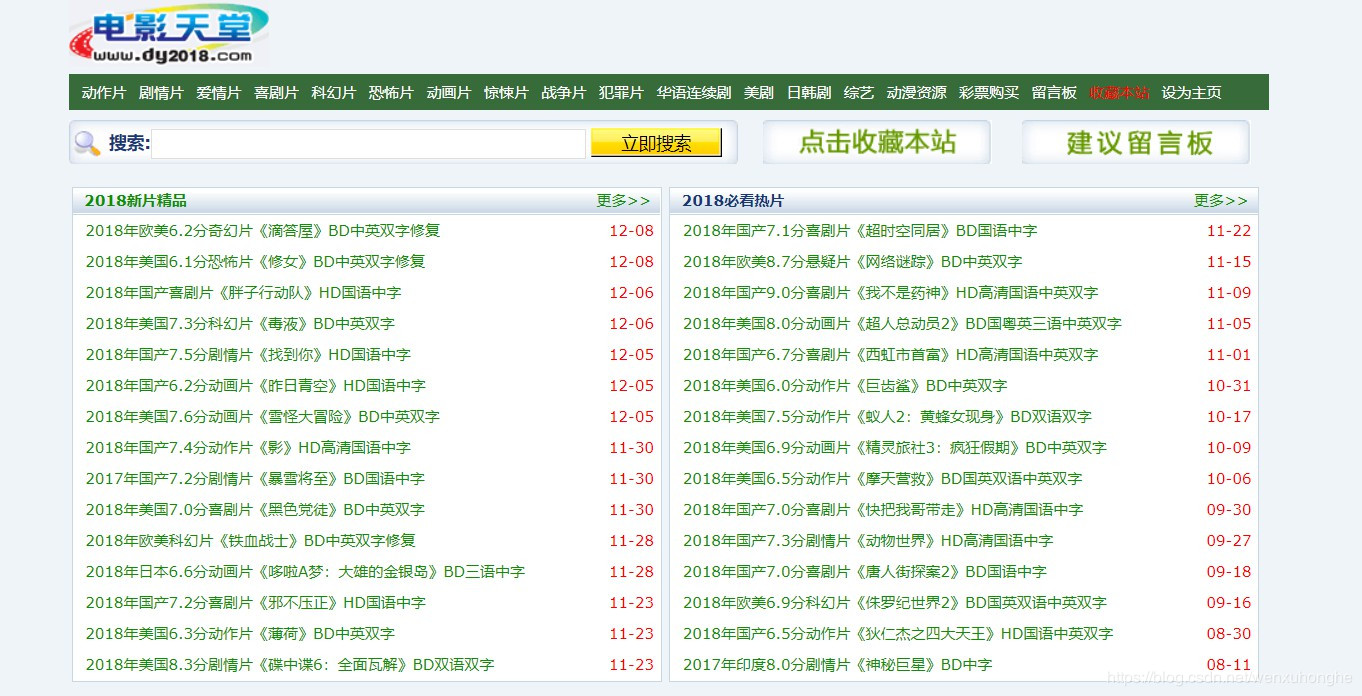
假设我要http://maoyan.com/board/4猫眼电影的top100电影的相关信息,如下截图:

获取电影的标题及url。
安装requests和BeautifulSoup
使用pip工具安装这两个工具。
pip install requests
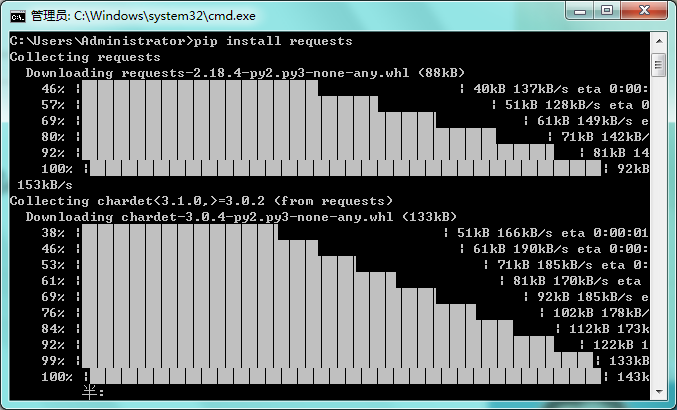
pip install beautifulsoup4

程序
__author__ = 'Qian Yang'
# -*- coding:utf-8 -*-
import requests
from bs4 import BeautifulSoup
def get_one_page(url):
response= requests.get(url)
if response.status_code == 200:
return response.content.decode("utf8","ignore").encode("gbk","ignore")
#采用BeautifulSoup解析
def bs4_paraser(html):
all_value = []
value = {}
soup = BeautifulSoup(html,'html.parser')
# 获取每一个电影
all_div_item = soup.find_all('div', attrs={'class': 'movie-item-info'})
for r in all_div_item:
# 获取电影的名称和url
title = r.find_all(name="p",attrs={"class":"name"})[0].string
movie_url = r.find_all('p', attrs={'class': 'name'})[0].a['href']
value['title'] = title
value['movie_url'] = movie_url
all_value.append(value)
value = {}
return all_value
def main():
url = 'http://maoyan.com/board/4'
html = get_one_page(url)
all_value = bs4_paraser(html)
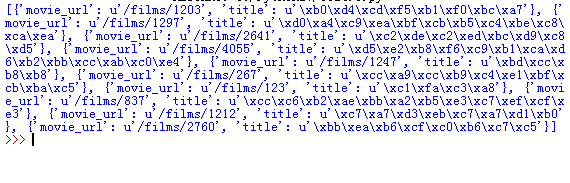
print(all_value)
if __name__ == '__main__':
main()
代码测试可用,实现效果:
总结
以上就是本文关于Python使用requests及BeautifulSoup构建爬虫实例代码的全部内容,希望对大家有所帮助。感兴趣的朋友可以继续参阅本站其他相关专题,如有不足之处,欢迎留言指出。感谢朋友们对本站的支持!