Python3实现腾讯云OCR识别
废话不多说,在网上找了下腾讯云OCR识别的,示例不多,用Python的还是Python2.7,花了点时间改成Python3的。
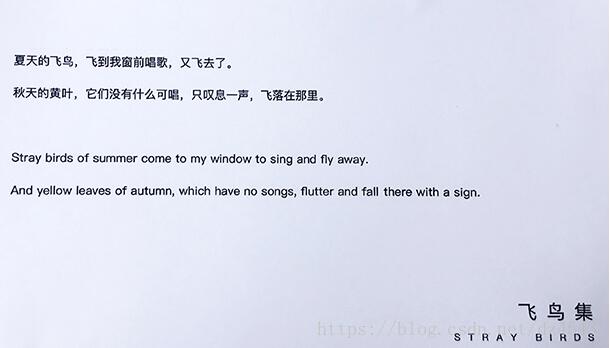
先上图,腾讯自己的示例图:
下面是代码:
import requests
import hmac
import hashlib
import base64
import time
import random
import re


appid = "你自己的appid"
bucket = " 这个是优图上面的,可以不填" #参考本文开头提供的链接
secret_id = "填自己的" #参考官方文档
secret_key = "填自己的" #同上
expired = time.time() + 2592000
onceExpired = 0
current = time.time()
rdm = ''.join(random.choice("0123456789") for i in range(10))
userid = "0"
fileid = "tencentyunSignTest"

info = "a=" + appid + "&b=" + bucket + "&k=" + secret_id + "&e=" + str(expired) + "&t=" + str(current) + "&r=" + str(
 rdm) + "&u=0&f="

signindex = hmac.new(bytes(secret_key,'utf-8'),bytes(info,'utf-8'), hashlib.sha1).digest() # HMAC-SHA1加密
sign = base64.b64encode(signindex + bytes(info,'utf-8')) # base64转码,也可以用下面那行转码
#sign=base64.b64encode(signindex+info.encode('utf-8'))

url = "http://recognition.image.myqcloud.com/ocr/general"
headers = {'Host': 'recognition.image.myqcloud.com',
   "Authorization": sign,
   }
files = {'appid': (None,appid),
 'bucket': (None,bucket),
 'image': ('1.jpg',open('D:/codes/images/form.jpg','rb'),'image/jpeg')
 }

r = requests.post(url, files=files,headers=headers)

responseinfo = r.content
data = responseinfo.decode('utf-8')

r_index = r'itemstring":"(.*?)"' # 做一个正则匹配
result = re.findall(r_index, data)
for i in result:

 print(i)
以上就是本文的全部内容,希望对大家的学习有所帮助,也希望大家多多支持【听图阁-专注于Python设计】。