超简单使用Python换脸实例
换脸!
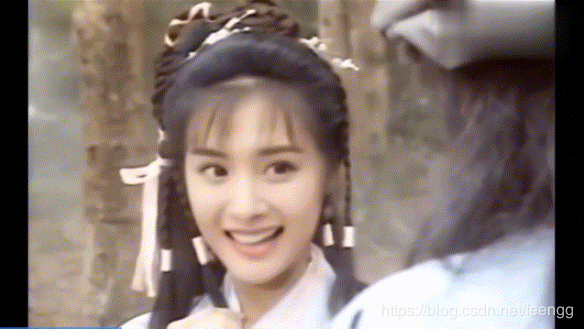
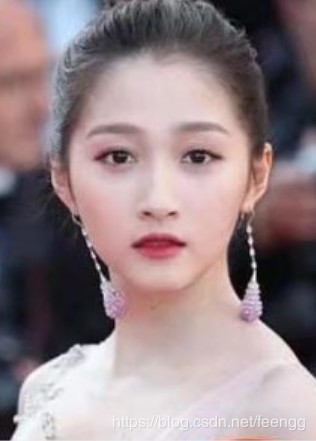
这段时间,deepfakes搞得火热,比方说把《射雕英雄传》里的朱茵换成了杨幂,看下面的图!毫无违和感!
其实早在之前,基于AI换脸的技术就得到了应用,比方说《速度与激情7》里面的演员保罗.沃克,由于发生意外,
后期的视频都是由他的兄弟完成拍摄,然后再对其换脸,最终也就是我们影院看到的效果。
当然,也有人把这项技术应用在其他的领域,例如把某种电影的女主换成了盖尔.加朵(《神奇女侠》的扮演者),,,

这真的是对“技术是一把又刃剑”阐述的十分到位。。。
关于deepfakes这里不再详细说明,好吧,小编承认是来蹭热度的。。。
下面来介绍一种对照片的简单换脸方法。
本篇介绍的换脸方法需要借助Face++,关于Face++的API,大家可自行查看说明文档,都比较简单,小编在这里就不做具体
说明了:
文档地址:https://console.faceplusplus.com.cn/documents/20813963
1.配置工具:
pip install requests
pip install simplejson
2.获取Face++ api_key和secret
Face++网址:https://console.faceplusplus.com.cn/dashboard
3.换脸步骤
调用的库
import requests
import simplejson
import json
import base64
第一步,获取人脸关键点,代码如下说述:
def find_face(imgpath):

    print("finding")

    http_url = 'https://api-cn.faceplusplus.com/facepp/v3/detect'

    data = {"api_key": '自己申请',
        "api_secret": '自己申请', "image_url": imgpath, "return_landmark": 1}

    files = {"image_file": open(imgpath, "rb")}

    response = requests.post(http_url, data=data, files=files)

    req_con = response.content.decode('utf-8')

    req_dict = json.JSONDecoder().decode(req_con)

    this_json = simplejson.dumps(req_dict)

    this_json2 = simplejson.loads(this_json)

    faces = this_json2['faces']

    list0 = faces[0]

    rectangle = list0['face_rectangle']

    # print(rectangle)

    return rectangle
第二步,换脸,其中图片的大小应不超过2M,代码如下所述:
#number表示换脸的相似度
def merge_face(image_url_1,image_url_2,image_url,number):

    ff1 = find_face(image_url_1)

    ff2 = find_face(image_url_2)

    rectangle1 = str(str(ff1['top']) + "," + str(ff1['left']) + "," + str(ff1['width']) + "," + str(ff1['height']))

    rectangle2 = str(ff2['top']) + "," + str(ff2['left']) + "," + str(ff2['width']) + "," + str(ff2['height'])

    url_add = "https://api-cn.faceplusplus.com/imagepp/v1/mergeface"

    f1 = open(image_url_1, 'rb')

    f1_64 = base64.b64encode(f1.read())

    f1.close()

    f2 = open(image_url_2, 'rb')

    f2_64 = base64.b64encode(f2.read())

    f2.close()

    data = {"api_key": '自己申请', "api_secret": '自己申请',
        "template_base64": f1_64, "template_rectangle": rectangle1,
        "merge_base64": f2_64, "merge_rectangle": rectangle2, "merge_rate": number}

    response = requests.post(url_add, data=data)

    req_con = response.content.decode('utf-8')

    req_dict = json.JSONDecoder().decode(req_con)

    result = req_dict['result']

    imgdata = base64.b64decode(result)

    file = open(image_url, 'wb')

    file.write(imgdata)

    file.close()
测试
def test():

    image1 = r"F:\GXT.bmp"

    image2 = r"F:\MSC.bmp"

    image = r"F:\MEG.bmp"

    merge_face(image2,image1,image,90)
测试结果:
左图:关某某
右图:马某某
中图:MERGE


以上所述是小编给大家介绍的Python换脸实例详解整合,希望对大家有所帮助,如果大家有任何疑问请给我留言,小编会及时回复大家的。在此也非常感谢大家对【听图阁-专注于Python设计】网站的支持!