利用setuptools打包python程序的方法步骤
一、准备工程文件
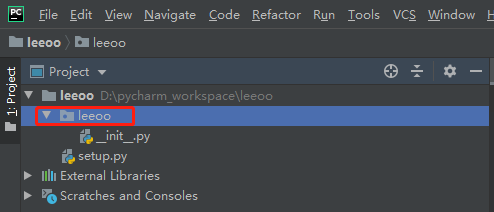
1.创建工程leeoo
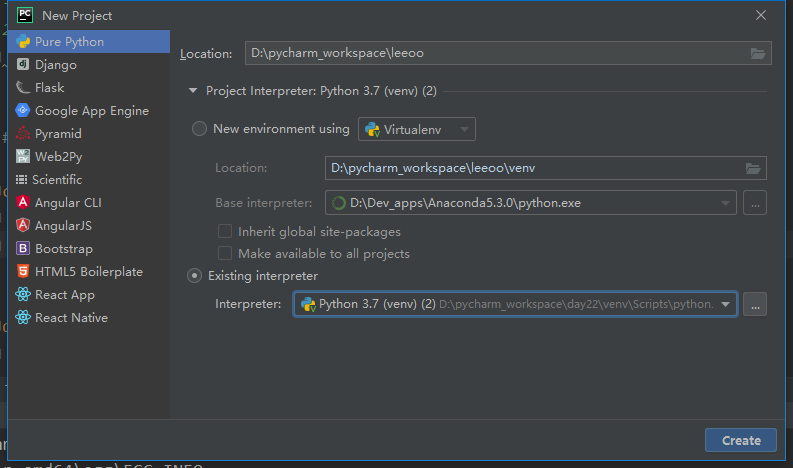
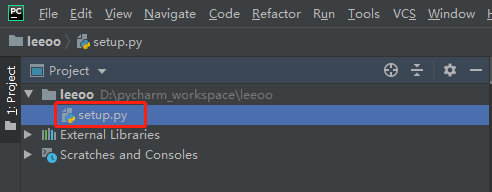
2.在工程根目录下创建setup.py文件
3.在工程根目录下创建同名package
二、编辑setup.py
1.编辑setup.py文件
from setuptools import setup, find_packages

setup(
  name='leeoo', # 包的名称
  version='1.0', # 版本号
  packages=find_packages(), # 动态获取packages
  description="leeoo package",
  author='Leo',
  author_email='leo4774177@gmail.com',
  url="None",
)
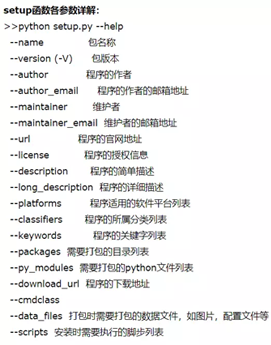
2.参数说明
三、编写测试代码
1.在leeoo package下创建pkg
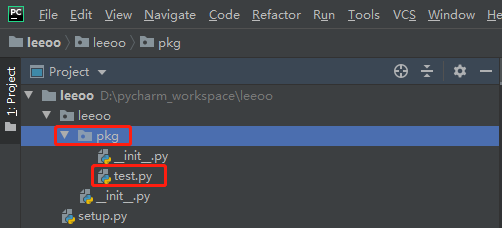
2.test.py文件内容
def testfunc():
  print("This is a test function..")


class TestClass(object):
  def __init__(self, name):
    self.name = name
    print("This is a test Class..")

  def get_name(self):
    return self.name
3.将test.py中的内容全部导入到leeoo的__init__.py中
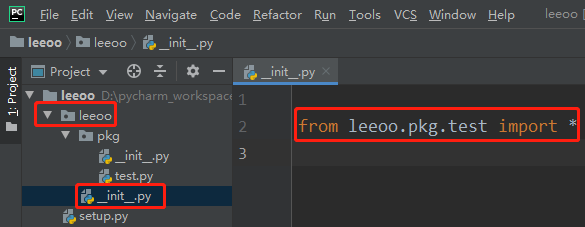
这样,以后import leeoo后,就可以直接使用leeoo.testfunc()了。
四、打包
1.命令行进入工程根目录
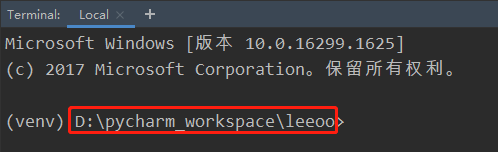
2.运行命令
(venv) D:\pycharm_workspace\leeoo>python setup.py check
running check
(venv) D:\pycharm_workspace\leeoo>python setup.py bdist_egg
running bdist_egg
running egg_info
creating leeoo.egg-info
writing leeoo.egg-info\PKG-INFO
writing dependency_links to leeoo.egg-info\dependency_links.txt
writing top-level names to leeoo.egg-info\top_level.txt
writing manifest file 'leeoo.egg-info\SOURCES.txt'
reading manifest file 'leeoo.egg-info\SOURCES.txt'
writing manifest file 'leeoo.egg-info\SOURCES.txt'
installing library code to build\bdist.win-amd64\egg
running install_lib
running build_py
creating build
creating build\lib
creating build\lib\leeoo
copying leeoo\__init__.py -> build\lib\leeoo
creating build\bdist.win-amd64
creating build\bdist.win-amd64\egg
creating build\bdist.win-amd64\egg\leeoo
copying build\lib\leeoo\__init__.py -> build\bdist.win-amd64\egg\leeoo
byte-compiling build\bdist.win-amd64\egg\leeoo\__init__.py to __init__.cpython-37.pyc
creating build\bdist.win-amd64\egg\EGG-INFO
copying leeoo.egg-info\PKG-INFO -> build\bdist.win-amd64\egg\EGG-INFO
copying leeoo.egg-info\SOURCES.txt -> build\bdist.win-amd64\egg\EGG-INFO
copying leeoo.egg-info\dependency_links.txt -> build\bdist.win-amd64\egg\EGG-INFO
copying leeoo.egg-info\top_level.txt -> build\bdist.win-amd64\egg\EGG-INFO
zip_safe flag not set; analyzing archive contents...
creating dist
creating 'dist\leeoo-1.0-py3.7.egg' and adding 'build\bdist.win-amd64\egg' to it
removing 'build\bdist.win-amd64\egg' (and everything under it)
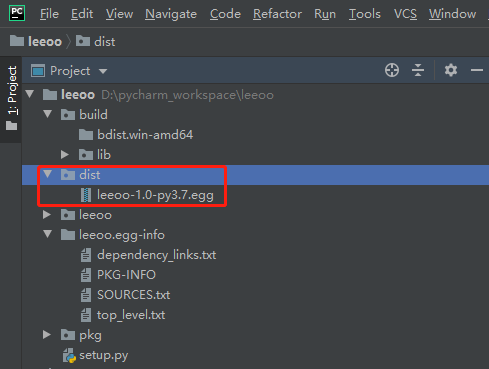
3.查看生成的文件
在工程根目录下,可以看到生成了一系列文件:
五、安装leeoo
1.在工程目录下(setup.py所在目录)运行命令
D:\pycharm_workspace\leeoo>python setup.py install
running install
running bdist_egg
running egg_info
writing leeoo.egg-info\PKG-INFO
writing dependency_links to leeoo.egg-info\dependency_links.txt
writing top-level names to leeoo.egg-info\top_level.txt
reading manifest file 'leeoo.egg-info\SOURCES.txt'
writing manifest file 'leeoo.egg-info\SOURCES.txt'
installing library code to build\bdist.win-amd64\egg
running install_lib
running build_py
creating build\bdist.win-amd64\egg
creating build\bdist.win-amd64\egg\leeoo
copying build\lib\leeoo\__init__.py -> build\bdist.win-amd64\egg\leeoo
byte-compiling build\bdist.win-amd64\egg\leeoo\__init__.py to __init__.cpython-37.pyc
creating build\bdist.win-amd64\egg\EGG-INFO
copying leeoo.egg-info\PKG-INFO -> build\bdist.win-amd64\egg\EGG-INFO
copying leeoo.egg-info\SOURCES.txt -> build\bdist.win-amd64\egg\EGG-INFO
copying leeoo.egg-info\dependency_links.txt -> build\bdist.win-amd64\egg\EGG-INFO
copying leeoo.egg-info\top_level.txt -> build\bdist.win-amd64\egg\EGG-INFO
zip_safe flag not set; analyzing archive contents...
creating 'dist\leeoo-1.0-py3.7.egg' and adding 'build\bdist.win-amd64\egg' to it
removing 'build\bdist.win-amd64\egg' (and everything under it)
Processing leeoo-1.0-py3.7.egg
Copying leeoo-1.0-py3.7.egg to d:\dev_apps\anaconda5.3.0\lib\site-packages
Adding leeoo 1.0 to easy-install.pth file

Installed d:\dev_apps\anaconda5.3.0\lib\site-packages\leeoo-1.0-py3.7.egg
Processing dependencies for leeoo==1.0
Finished processing dependencies for leeoo==1.0
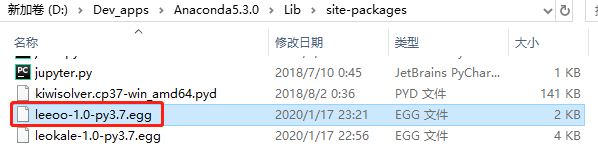
2.查看安装好的文件
我们看到上述打印日志中,将leeoo-1.0-py3.7.egg安装到了d:\dev_apps\anaconda5.3.0\lib\site-packages。
六、使用leeoo
新建一个项目,然后导入leeoo:
import leeoo

leeoo.testfunc()
obj = leeoo.TestClass("demo")
print(obj.get_name())
也可以使用:
from leeoo.pkg import test

test.testfunc()
obj = test.TestClass("demo")
print(obj.get_name())
当然也可以直接将testfunc()和TestClass导入,但是容易引起命名冲突。
以上就是本文的全部内容,希望对大家的学习有所帮助,也希望大家多多支持【听图阁-专注于Python设计】。